
Improve your store performance with the Magento 2 Flat Catalog
Catalog data storage in Magento 2 is often based on the Entity-Attribute-Value (EAV) model that enables quick applying of attributes to a given entity. But this flexibility may cause slower system performance, for instance, when it comes to cart price rules processing. Product attributes are put in multiple tables, causing long and complex SQL queries required to retrieve the data.
Luckily, Magento offers the Flat Catalog, an alternative to the above-mentioned model. This setup tool is capable of creating new tables on the fly. All the necessary information about a category/product is available in a row. The Catalog leverages automatic updates since it is synced with the Cron schedule. In short, the platform executes only simple queries while browsing the catalog, resulting in higher performance and lower server load. In this article, we’re going to show you how to configure the Magento 2 Flat Catalog for your web store.
Enabling the Flat Catalog in Magento 2
The very first step towards enabling the Catalog is to log in to the store’s Admin panel. Then navigate to Stores > Settings > Configuration. On the left sidebar, click ‘Catalog’ and then select the ‘Catalog’ under it.
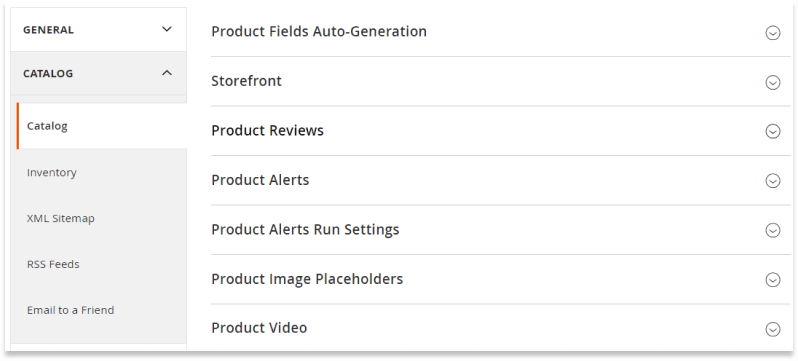
Proceed to the ‘Storefront’ section and scroll the page to the ‘Use Flat Catalog Category’ field. Clear the ‘Use system value’ checkbox on its right and set this field to ‘Yes’. Set the ‘Use Flat Catalog Product’ field to ‘Yes’ too.

Hit the ‘Save Config’ button at the top of the page and clear the store’s cache. Click the link in the system message to access the Cache Management tool or navigate to System > Tools > Cache Management.
Verifying Flat Catalog Actions
The next step is verifying the results. To check the changes related to one product, go to the Products workspace in the Admin panel. Select a product and open it in the edit mode. In the name field, add a custom postfix to the existing product title (e.g., _TEST). Save the changes by hitting the ‘Save’ button.
Proceed to Homepage on the storefront and search for the product you’ve edited. You can also find it in the category this product belongs to.

To see the results for multiple products, navigate to Products > Inventory > Categories. Select a category from the available tree and hit ‘Add Subcategory’.
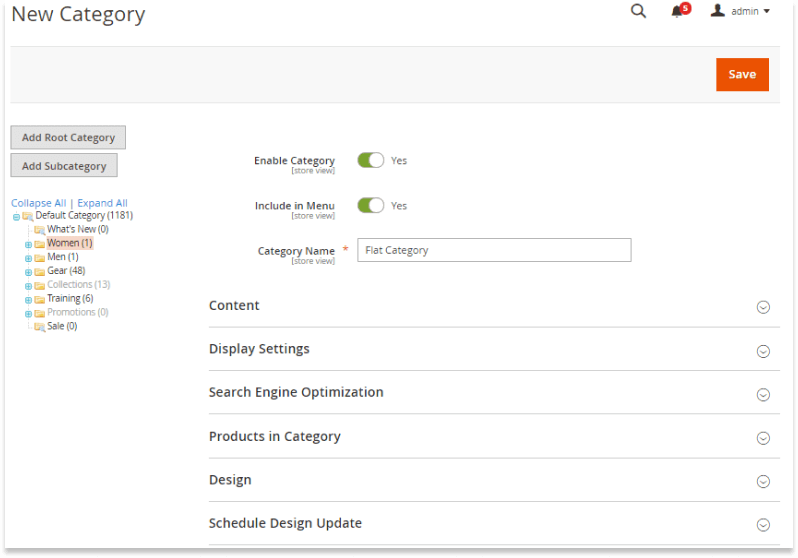
Add the test category title to the ‘Name’ field, set ‘Enable Category’ to ‘Yes’ and click the ‘Save’ button. Then expand the ‘Products in Category’ section and add some products to the test category.
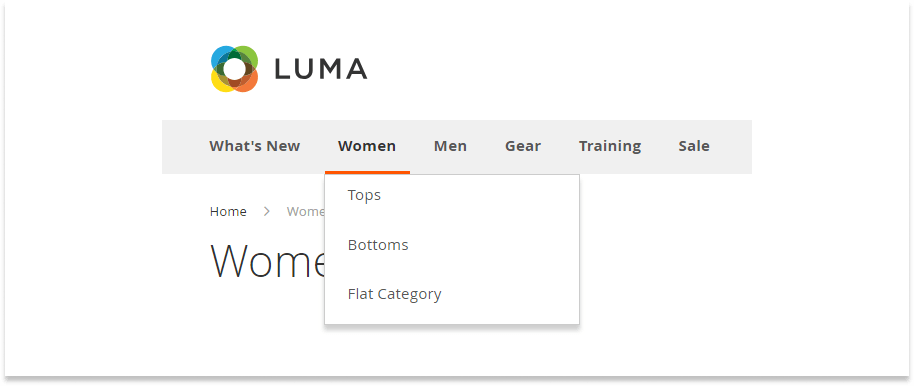
Save the changes and go to the store’s Homepage. Browse the new category by making use of the navigation.
Removing Test Products and Categories
If necessary, you can remove the products and categories you edited and/or created. To do that, update product names and delete test categories. Please note that deletion of test categories will not cause the removal of products that are assigned to them.
Summing Up
The Magento 2 Flat Catalog is a great way to improve the store performance and allow for more efficient and easy product and category management. We are sure that this tutorial will help you configure the Flat Catalog with ease for your web store. Want to make your store even better? Check out our Magento 2 extensions.
