Grow your sales by creating a multi-language store in Magento 2
The competition between ecommerce players is increasingly tough, and e-retails who go English-only may not succeed in expanding their business to new countries. Though English is an extremely popular language, it’s not the most spoken one. By making the web store available in only one language you switch off a significant part of the potential audience. It means that e-merchants with multilingual stores have a competitive advantage over their rivals.
In this article, we are going to guide you through the creation of a multi-language store in Magento 2. Read on to learn all the details.
Installing a Language Pack
To introduce a new language to your Magento 2 store, you should install a language pack first. Go to the Magento Marketplace and find a pack extension for the required language.
![]()
Utilize the Extension Manager to install the module following a simple three-step process. If you have installed any Magento 2 extensions, you are already familiar with it.
Creating a Language-Specific Store View
Now you need to create a new Store View for the chosen language. In the Admin panel, navigate to Stores > Settings > All Stores.
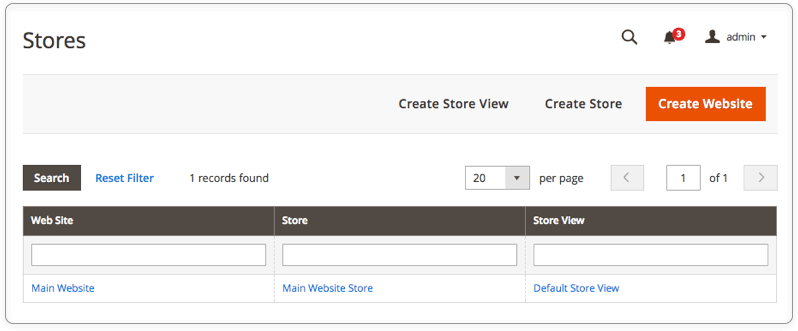
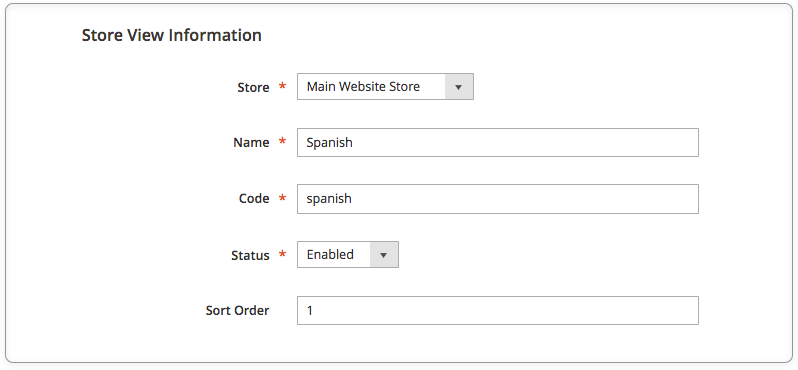
Hit the ‘Create New Store’ button at the top of the page. Click the ‘Store’ dropdown menu to select the store to which the new Store View will belong. Fill out all the necessary fields like ‘Name’, ‘Code’, etc. Please note that store visitors will see the name in the “language chooser” field on the front-end.
Set the ‘Status’ field to ‘enabled’ and click the ‘Save Store View’ button to activate the Store View.
Setting a Locale
We’re going to assign a particular locale to the Store View we’ve just created. Go to Stores > Settings > Configuration in the Admin panel.
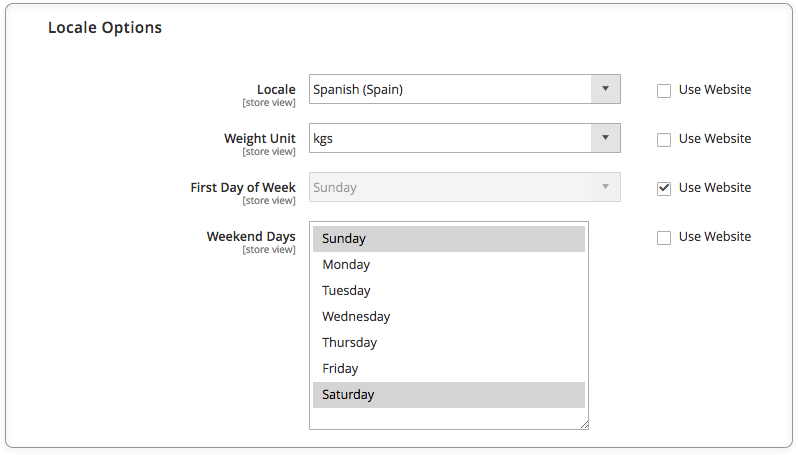
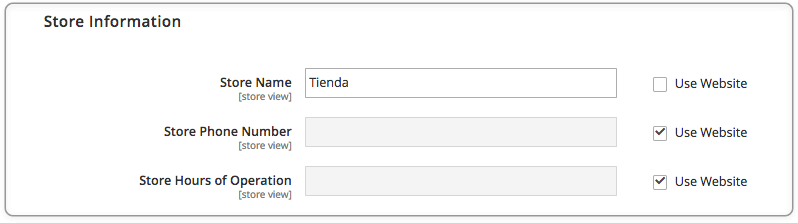
Change the ‘Store View’ in the upper-left corner to the newly created one (e.g., Spanish). In the ‘Locale Options’ section, select the language you want to use with this Store View and edit other fields if necessary.
You can edit the ‘Store Information’ section, too. For instance, you can apply a new store name.
Tap the ‘Save Config’ button to save the changes.
Please note that product information and some page content must be translated separately.
Translating Magento 2 Product Descriptions
-
Translating Product Fields
Navigate to Products > Catalog and select the product you’re going to translate in the grid. Open the edit mode and change the Store View to the newly created one.
Make necessary changes in product fields. For instance, paste the translated Product Name.
![]()
-
Translating Field Labels
Remember to translate product attributes, too. Go to Stores > Attributes > Product to see the full list of product attributes. Choose an attribute in the grid and open the edit mode.
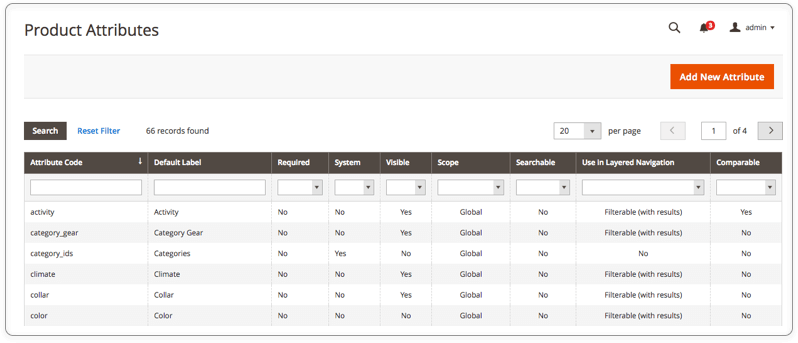
Proceed to the ‘Manage Labels’ section and paste a translated label for the new Store View.
![]()
Hit the ‘Save Attribute’ button to put the label to use.
-
Translating Categories
Product categories should be also shown in the target language. Go to Products > Inventory > Categories to translate them.
Change the Store View to the one you’re configuring. Now you can translate all the category-related content including Category Name, Description, Page Title, and others.
![]()
You can also introduce a new URL Key for the category. Proceed to the ‘Search Engine Optimization’ and enter the translated text and check the ‘Create Permanent Redirect for old URL’ box. Tap the ‘Save’ button to save the translation.
Translating Magento 2 Pages
To make pages’ content available in a new language, navigate to Content > Elements > Pages.
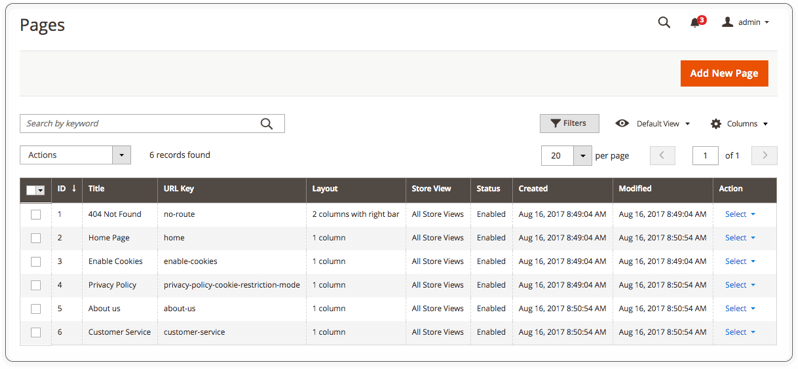
Copy the URL Key of the page you’re going to translate and click the ‘Add New Page’ button at the top of the page.
Enter a translated title of the page and fill out all other fields. Don’t forget to paste the URL Key you copied into the ‘Search Engine Optimisation’ section.

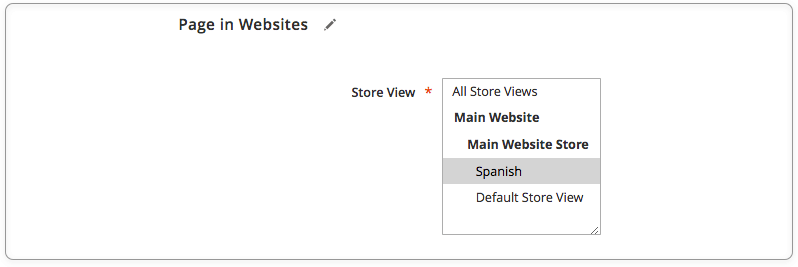
In the ‘Page in Websites’ section, select the Store View for the new page and save the translated page.
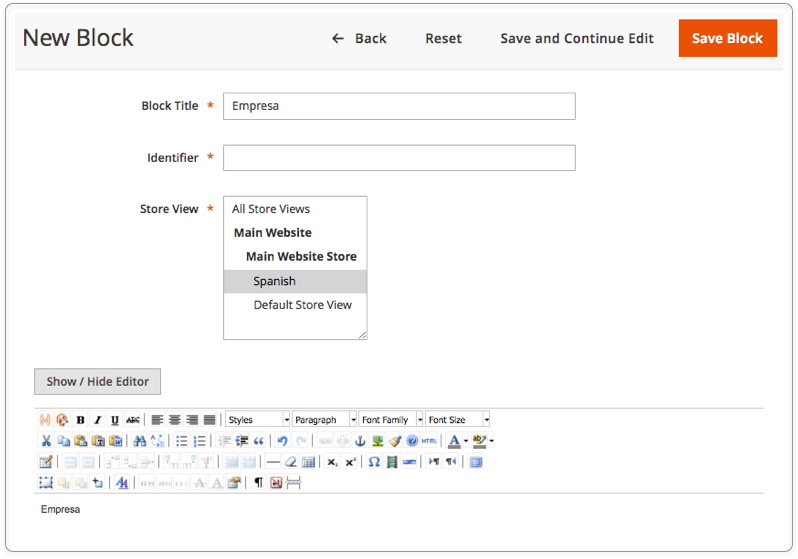
Translating Individual Blocks and the ‘Welcome’ Message
We haven’t translated some page elements yet (e.g., the ‘Contact Us’ block in the footer). To make such page blocks available in other languages, you must create them in the target language and assign to specific Store Views. Proceed to Content > Elements > Blocks to do this.
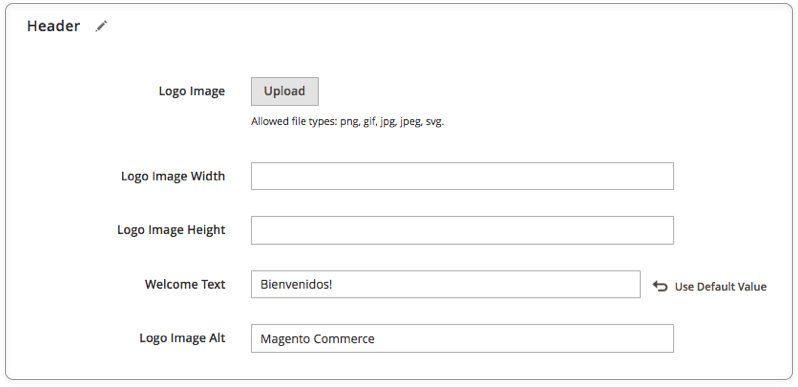
To translate the ‘Welcome’ message, proceed to Content > Design > Configuration. Find the new Store View and the grid and switch to the edit mode. Go to the ‘Header’ section and expand it. Enter the translated welcome message and save the new configuration.
Using Inline Editor
Magento store admins can also leverage the Inline Editor to translate the content from the storefront. To enable this functionality, navigate to Stores > Settings > Configuration. In the ‘Advanced’ section hit the ‘Developer’ option to set the ‘Enabled for Storefront’ to ‘Yes’. Make sure to save the configuration.
![]()
Here is how the Inline Translator looks on the front-end:
![]()
That’s it! Now you know how to translate your Magento store into different languages.
Final Words
Don’t limit your audience to English speakers. With our tutorial, you can implement new languages with ease. Expand your reach to attract new customers, tap into new markets, and retain existing clients by offering them products and services in their mother tongue.
