Add custom widgets to product pages of your Magento-driven store
Developed to meet the needs of almost any ecommerce business, Magento has many great features setting it apart from competitors. One of those are widgets. They represent reusable static or dynamic components that can be added to any CMS block of a Magento 2-driven store in order to improve the user experience and enhance the store’s functionality.
In this article, we’re going to show you how to create custom Magento 2 widgets and add them to products pages.
How to Create a New Widget
To add a new widget, log in to the Magento admin panel. Then navigate to Content > Elements > Widgets to access the Widgets workspace.
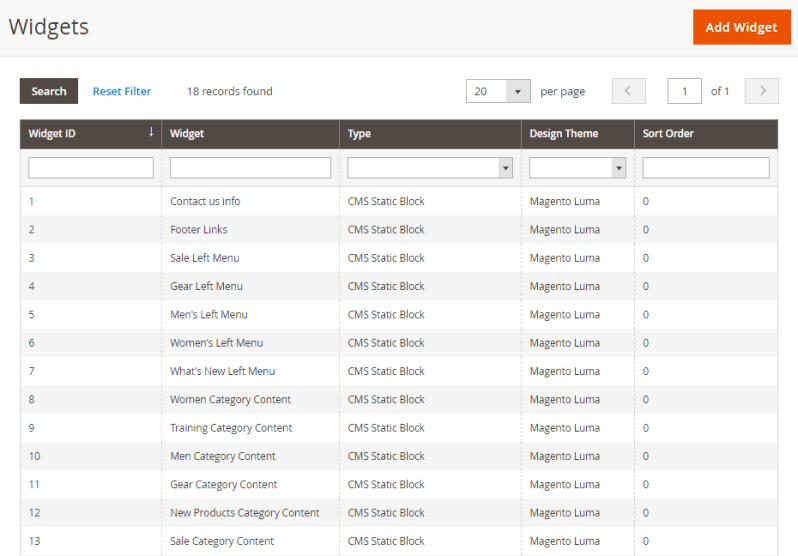
Hit the ‘Add Widget’ button to create a new component.
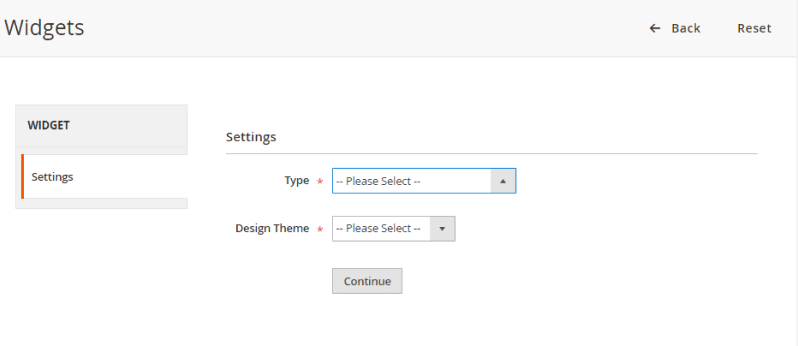
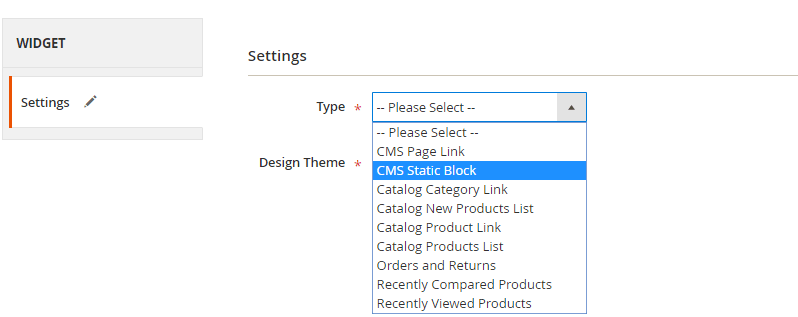
Select the appropriate type for the widget you want to create. There are many different options available:
- CMS Page Link
- CMS Static Block
- Catalog Category Link
- Catalog New Product List
- Catalog Product Link
- Catalog Product List
- Orders and Returns
- And others
In the ‘Design Theme’ field, choose the current theme of your web store. Click the ‘Continue’ button to configure a new widget.
Add a widget title (e.g., ‘New Block’) and then assign the new widget to as many websites or Store Views as you need.
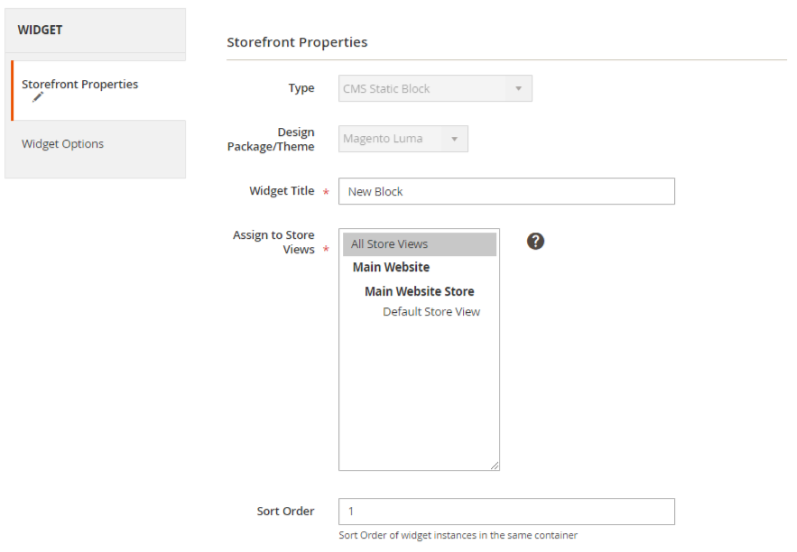
If you use other elements and want to display this one first, set the ‘Sort Order’ to ‘0’. If the storefront order is not necessary for you, you may leave this field empty.
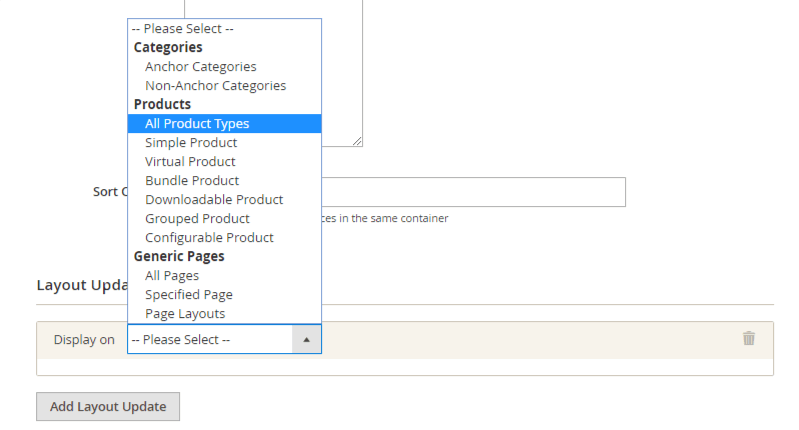
Go to the ‘Layout Updates’ section to configure new block visibility on the website. To add the widget to all the product pages, set the ‘Display on’ field to ‘All Product Types’. You may also assign the block to certain product types.
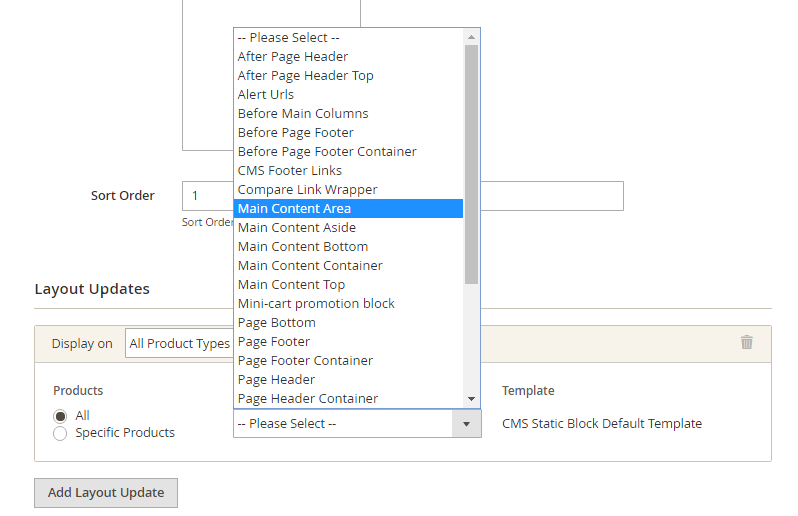
That isn’t all. You may enable the new widget on selected product pages. In the ‘Container’ field, determine a display area for the block.
Navigate to the ‘Widget Options’ section in the panel on the left. Here you can specify the block where you’re going to place the widget.
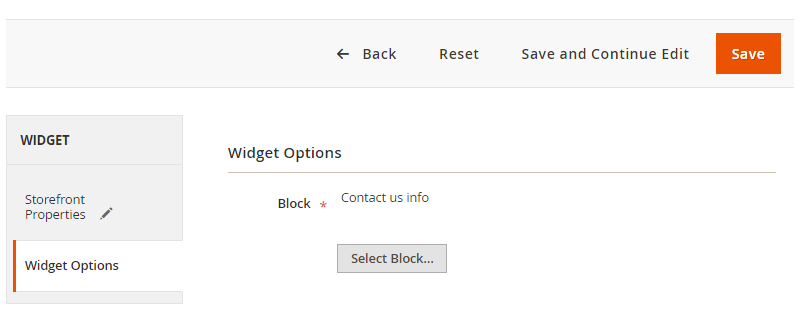
Hit the ‘Save’ button and update the index and page cache if you are prompted to do so. Now you can check how the widget looks like on the storefront.
Setting Custom Conditions for the Widget
You may also take advantage of product selection based on condition-based filters in your widget. This feature is similar to Shopping Cart Price Rules. To configure custom product display rules for the widget, set the ‘Widget Type’ to ‘Catalog Products List’.
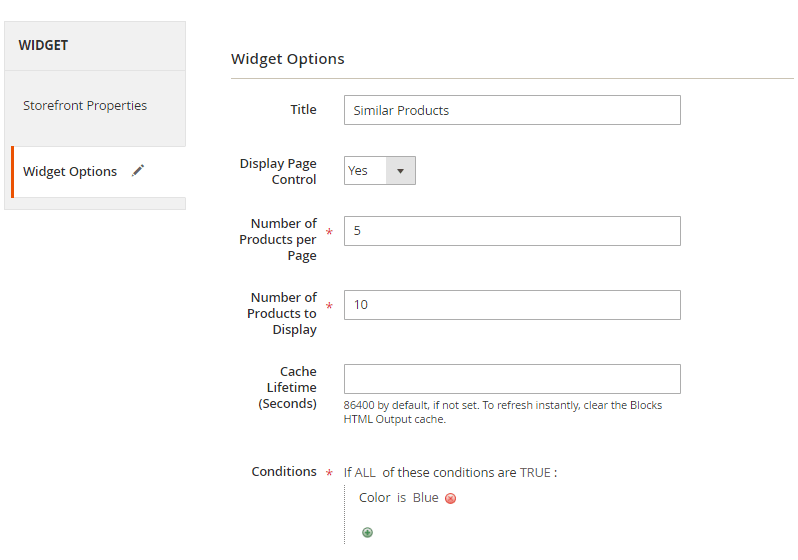
In the ‘Widget Options’ section, you can set custom rules to show customers only those products that meet specific conditions.
Summing Up
Magento 2 is a highly flexible platform that allows adjusting the store to the needs of each store. Widgets are a time-saving option for those admin users and Magento developers who seek an easy way to deliver an outstanding user experience and enhance the overall store usability.
In our tutorial, we’ve introduced you to available widget options you can put to use on your product pages. What Magento 2 widgets do you use? Tell us in the comments.
