Configure Magento 2 size options to ensure a pleasant shopping experience
Shopping for clothes online, consumers may face certain size-related concerns, as there are different sizing systems all over the globe. For instance, a man with the EU size 48 will need to have to look for a size of 28 on the US website. Such a situation may lead to confusion and result in lost sales opportunities or refund.
In this article, we’ll show you how to introduce Magento 2 size options to each website under the same installation, thus providing a convenient and simple shopping experience.
Adding Custom Clothing Sizes
Log in to the store’s Admin panel and go to Products > Inventory > Catalog. Select ‘Configurable Product’ on the ‘Add Product’ dropdown menu.
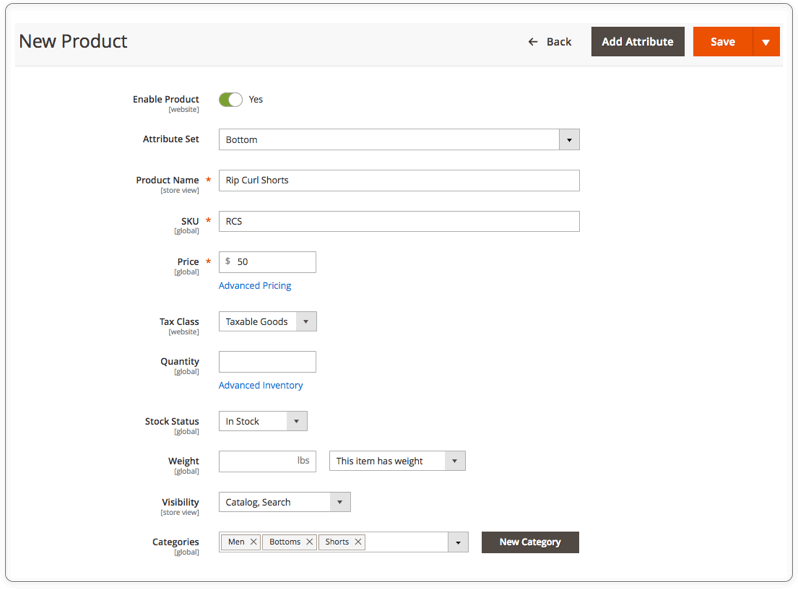
Fill out all the necessary fields: Product Name, SKU, Price, etc. Set ‘Enable Product’ to ‘Yes’ if you want to enable the product for all the Store Views as soon as you configure it. You may also set this option to ‘No’ to select a necessary Store View for the product later on, as the Store View selection appears only when a product is saved.
You may leave the quantity field blank, as QTY may vary depending on product variations.
Once you’re ready with product settings, proceed to the ‘Configurations’ section and click the ‘Create Configurations’ button to add size configurations to the product.

-
Creating Product Attributes
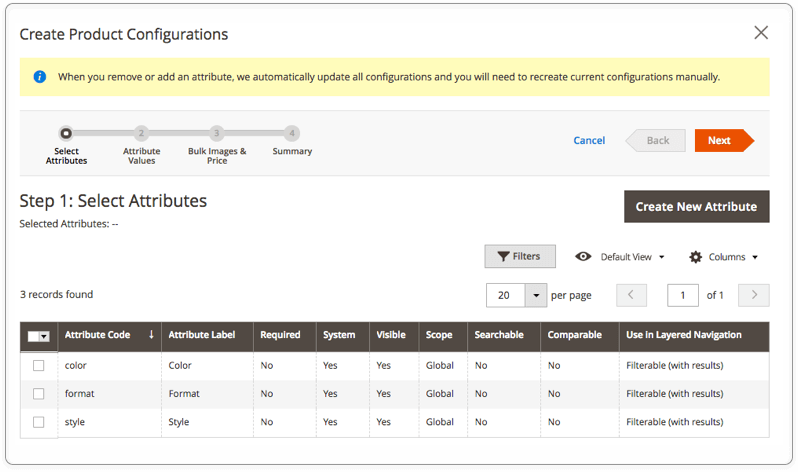
If you don’t have a size attribute yet, you need to create it. Hit the ‘Create New Attribute’ button.
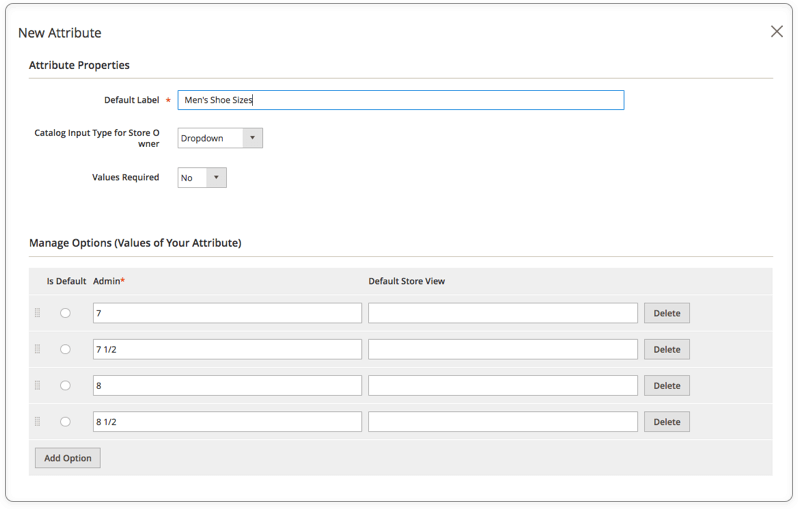
Add the attribute title to the ‘Default Label’ field and specify the necessary input type.
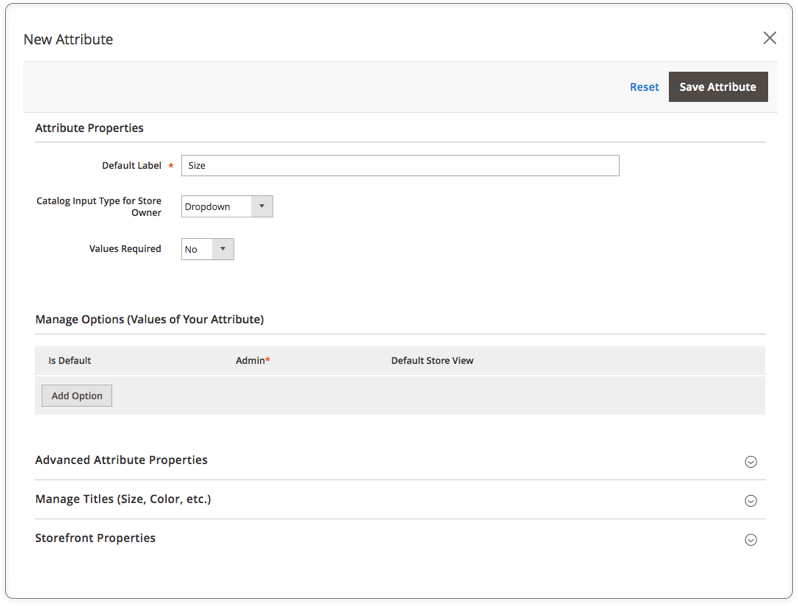
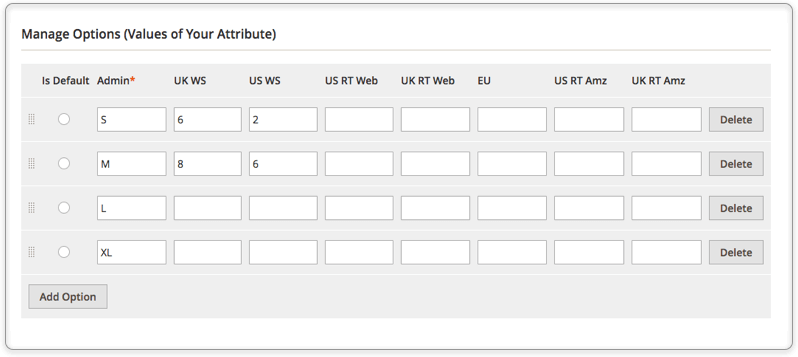
You may either enter all the values in the Admin column or introduce website-specific values, thus eliminating confusion about sizes across websites. It means that US store’s visitors will be shown just US website-specific sizes, and clients from the UK will see other sizes when accessing a UK store.
Configure advanced properties, add store view-specific titles if need, specify storefront properties of the attribute, and hit the ‘Save Attribute’ button.
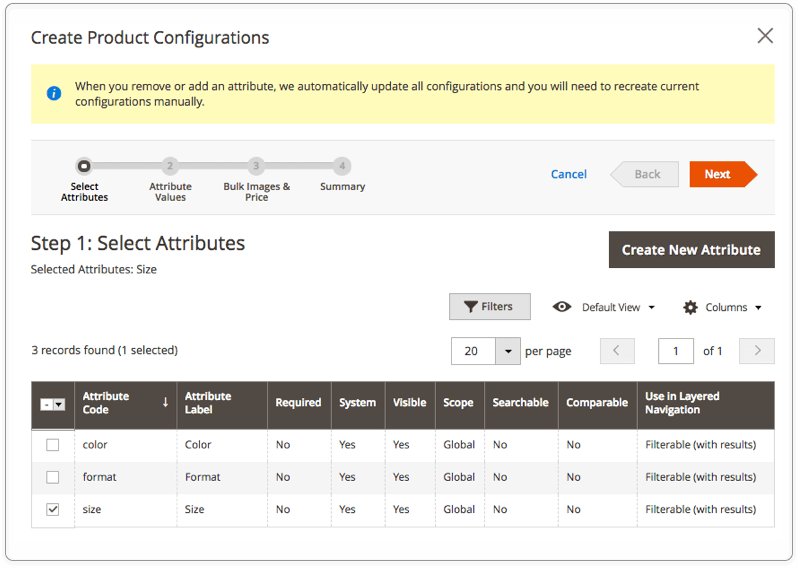
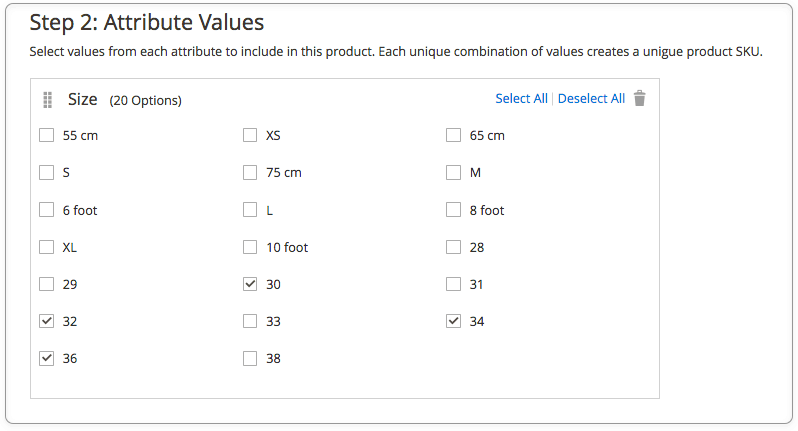
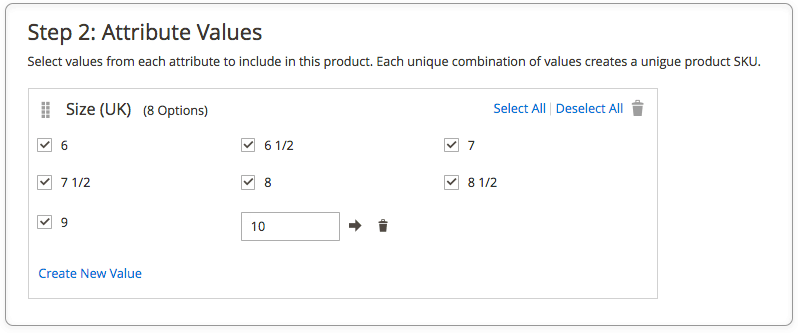
Mark the checkbox of the new category you’re going to assign to the product and click the ‘Next’ button. Select the appropriate attribute values.
Configure bulk images, prices, and QTY values and proceed to the Summary. Check the summary and save the configuration of everything is correct. You may also go back to make some changes.
-
Managing Product Variations
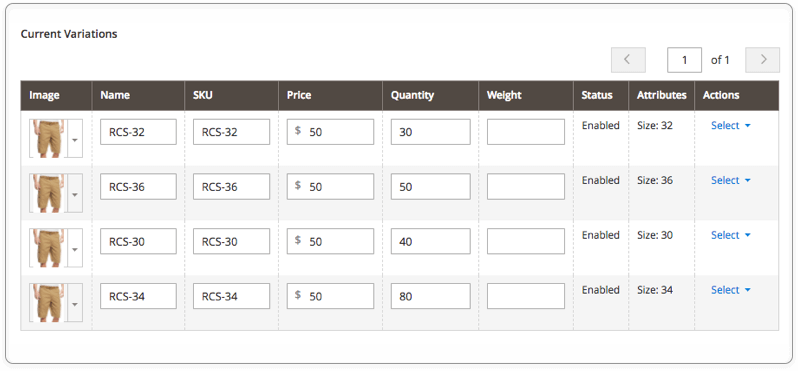
You may configure product variations by changing their names, SKUs, QTY, price, etc. Make sure that you’ve completed all the product information, including Search Engine Optimization, Design, Gift Options, and so on and save the product.

On the popup window, select the appropriate option and hit ‘Confirm’. Now the new product is available to your customers.
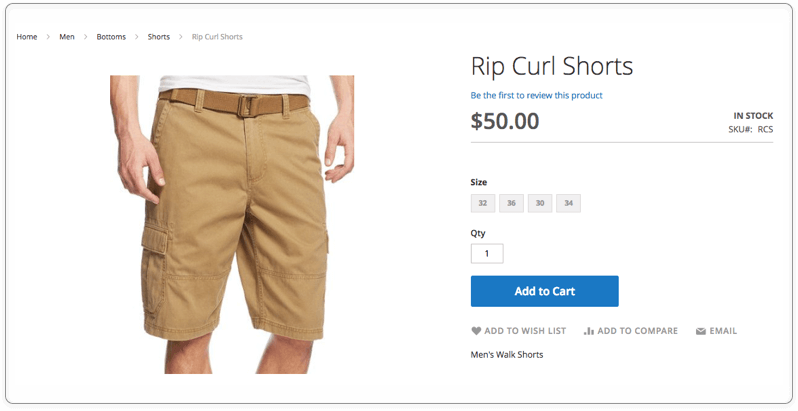
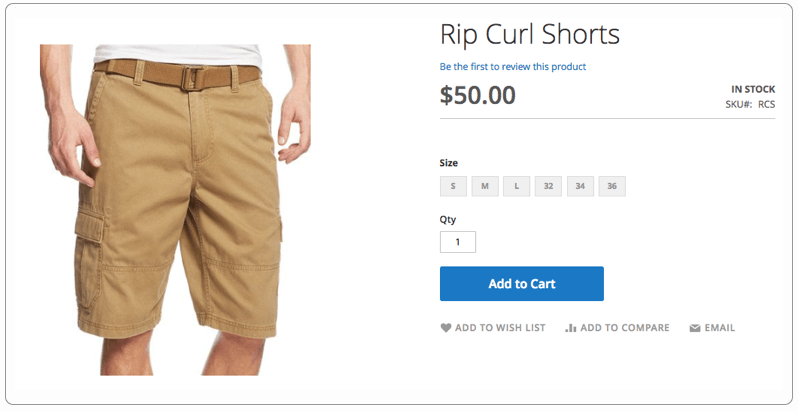
If you have just one website under the installation, you may introduce sizes in several most common formats, just like we did it in the following example.
Introducing Custom Shoe Sizes
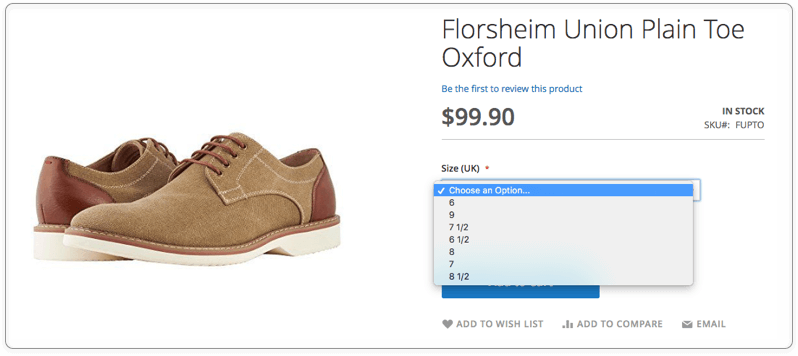
To add custom shoe sizes, follow the same steps. You may add custom shoe sizes (e.g., 7 1/2) with the help of a new attribute.
If some sizes are missing, you may add them during the second step of the configuration creation.
If you want to ensure that your customers won’t choose a wrong size, you may tell them which size format you’re using right in the attribute title.
Final Words
Selecting a clothing size may turn into an unexpected problem, as sizing systems vary from country to country. We hope that our tutorial will help you configure clothing sizing at your store according to the needs of international visitors. To give your customers even more flexibility and allow them to create and purchase custom-designed products, leverage our Custom Product Designer extension.
